
How to Set Up Subdomains and Addon Domains in cPanel (2026)
Setting up subdomains and addon domains in cPanel is quick and straightforward. Follow the steps below.
Step 1: Log in to cPanel
-
Access your cPanel account.
-
You can usually log in via:
-
yourdomain.com/cpanel -
Or through your hosting client area.

-
Step 2: Open the Domains Tool
-
From the cPanel dashboard, locate the Domains section.
-
Click on Domains.

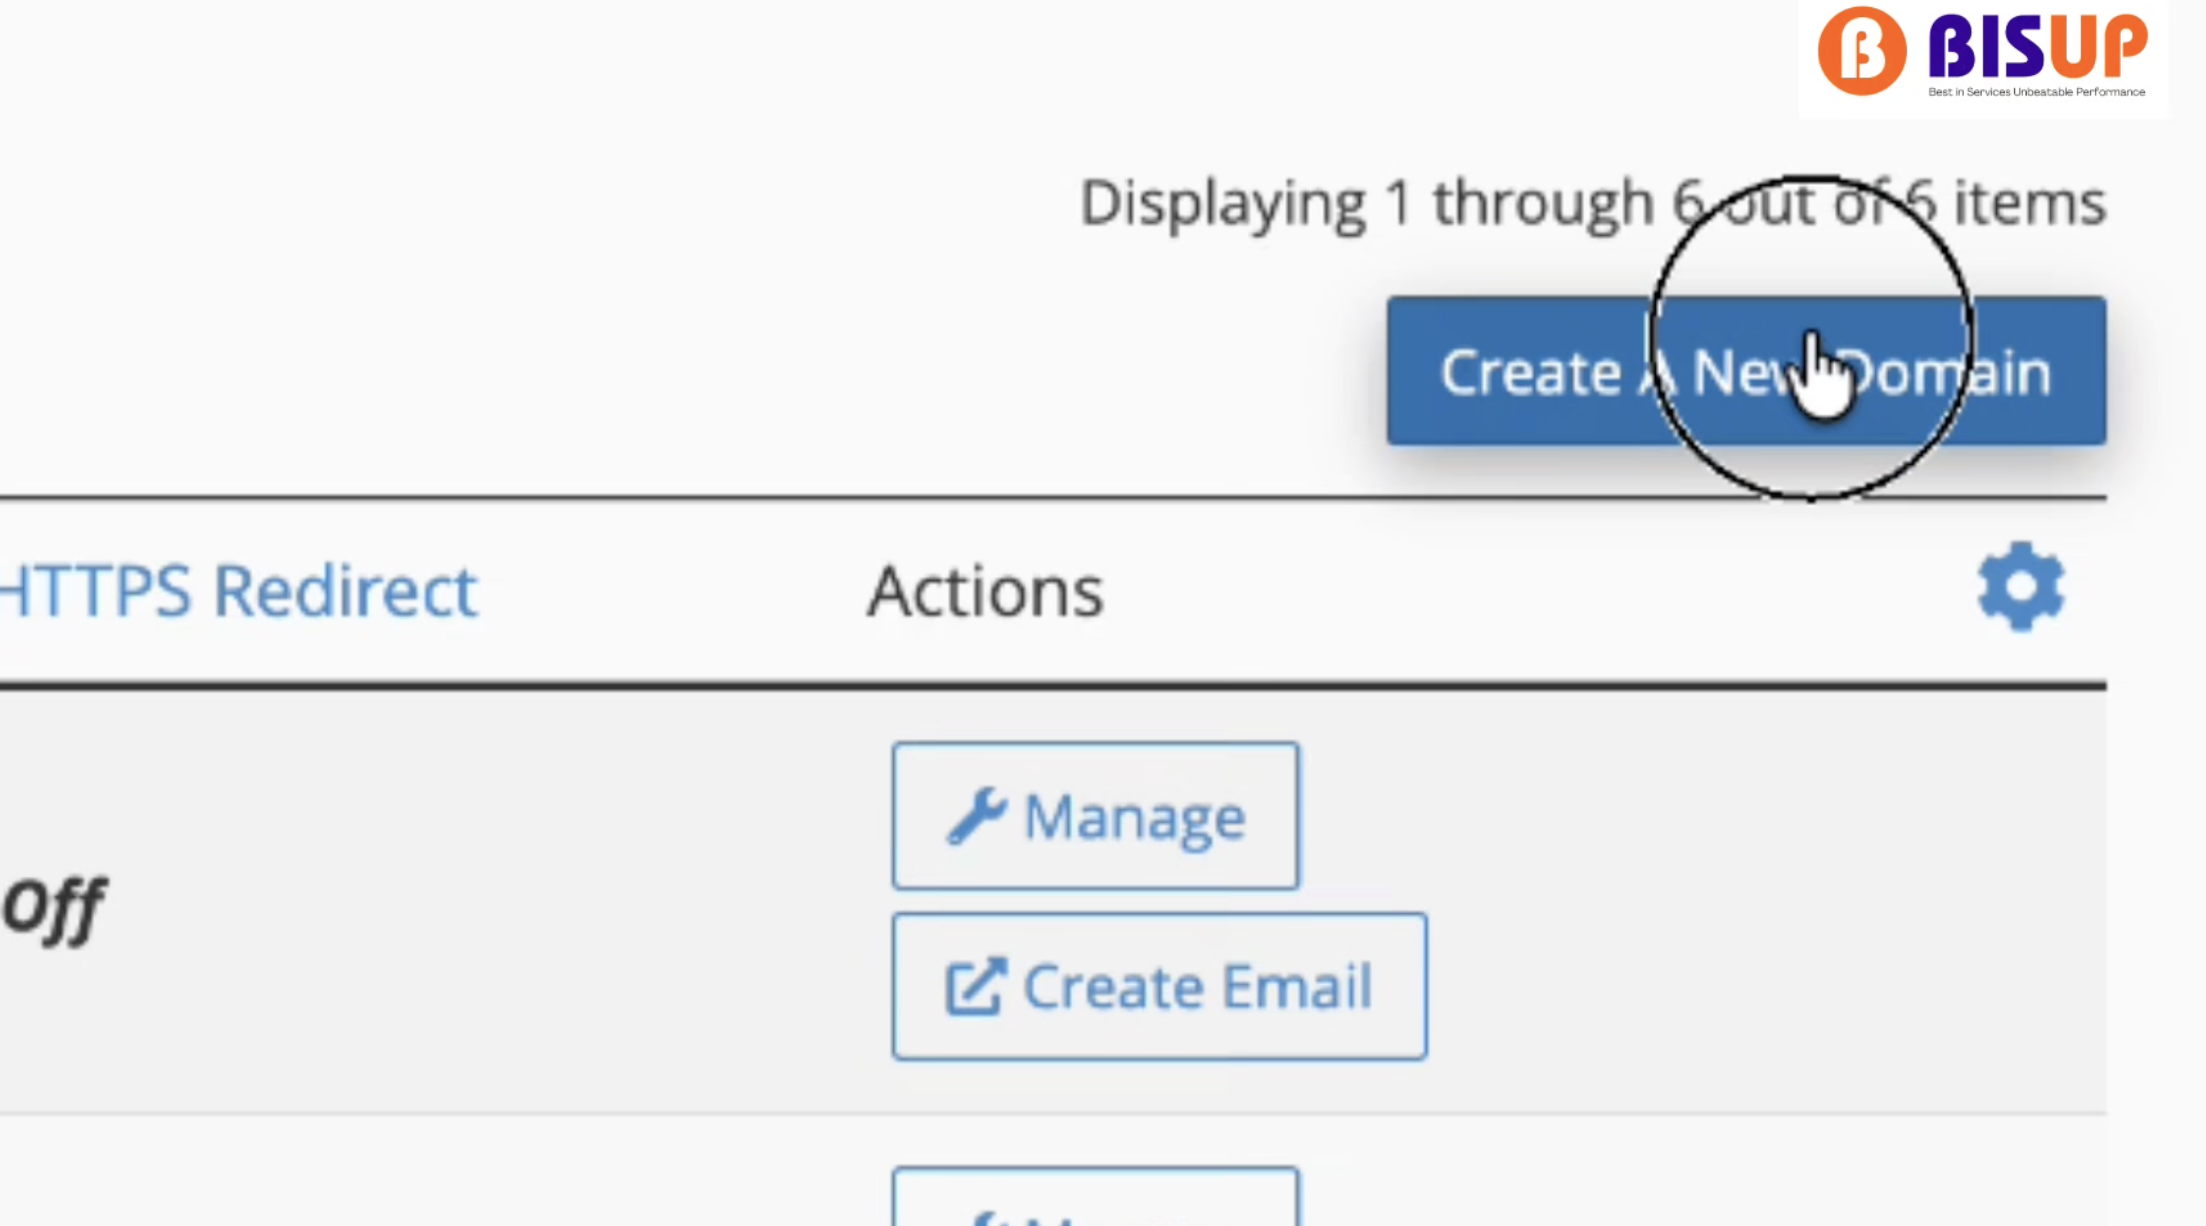
Step 3: Create a New Domain Entry
-
Click Create A New Domain.
Step 4: Enter Your Subdomain/Addon Domain
-
In the Domain field, enter your subdomain or addon domain.
-
Example:
blog.yourdomain.com, mydomain.com
Step 5: Set the Document Root
-
cPanel will automatically create a document root.
-
Example:
/public_html/blog -
You can customize this if needed.
Step 6: Submit
-
Click Submit.
-
Your subdomain is now created.
-
Your addon domain is now added to your hosting accoun
Final Step: Point Your Domain to Your Hosting
-
Update your domain's nameservers to your hosting provider's nameservers.
-
Or point the domain using an A record to your server's IP address.
DNS changes may take up to 24–48 hours to fully propagate.
Verification
-
Visit your newly created subdomain or addon domain in your browser.
-
If everything is configured correctly, it should load successfully.


